Raspberry Pi based Agent
The setup of an Raspberry Pi single-board computer is the easiest way to participate in a RIasC cloud of labs.
Requirements
- Raspberry Pi 3B / 4
- SD card (>= 16 GB)
- SD card reader
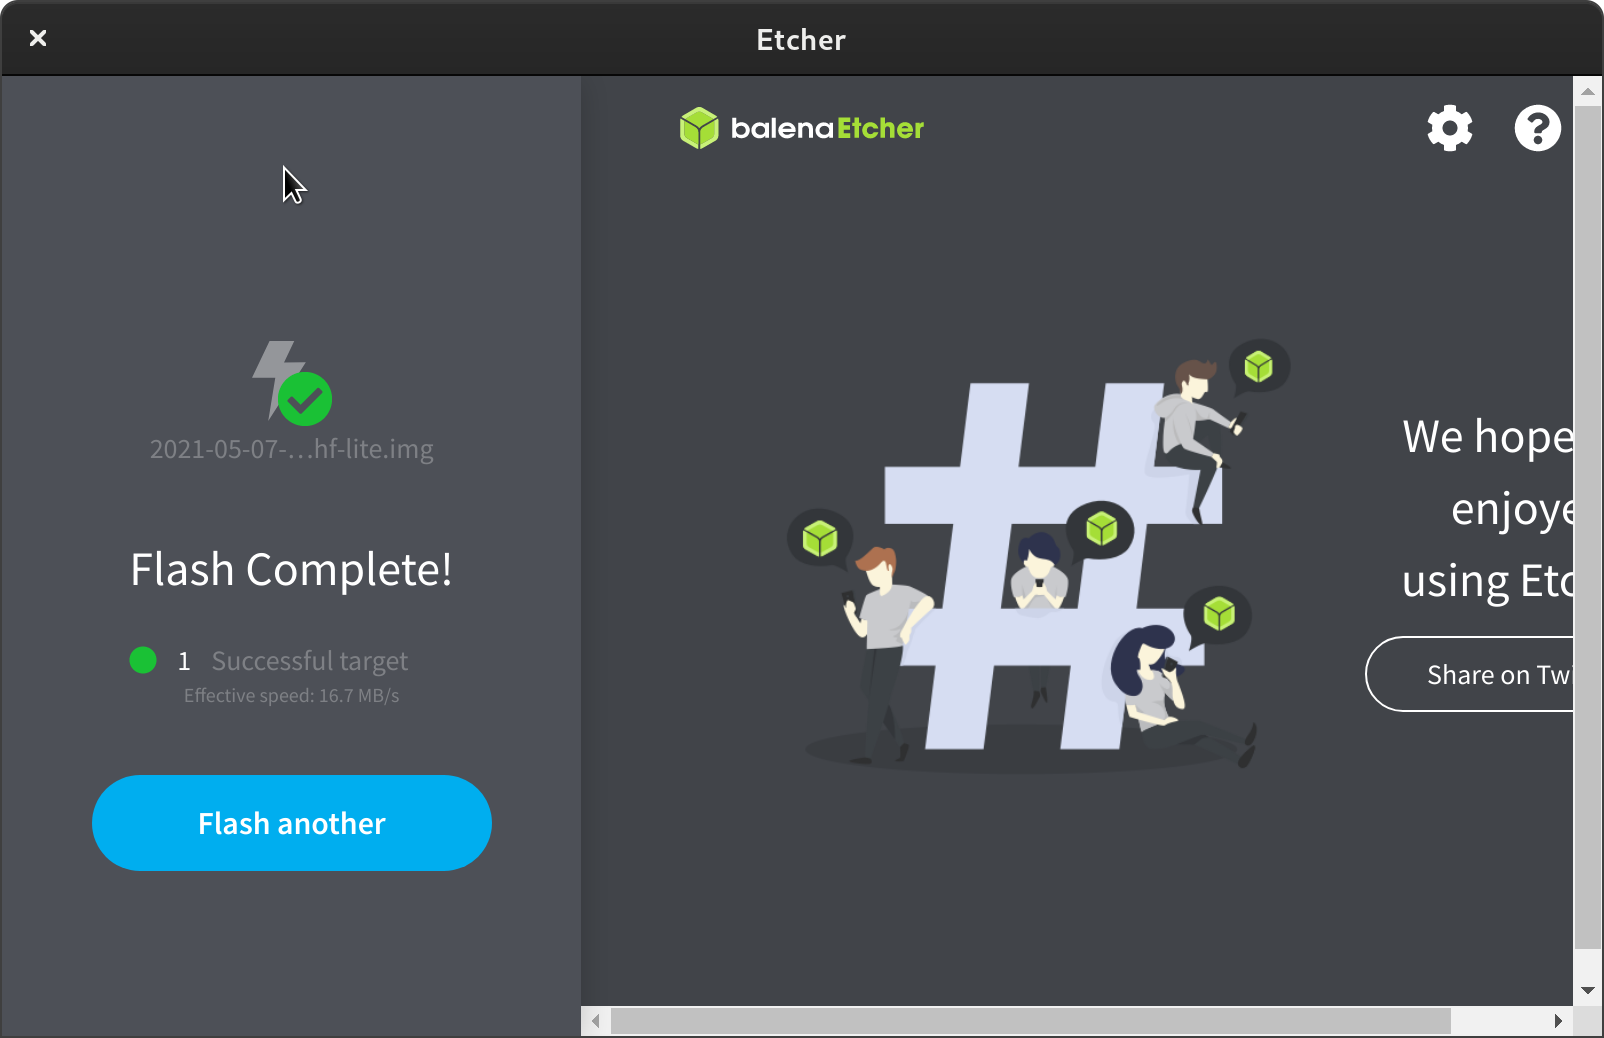
- SD card imager tool (e.g. Balena Etcher)
- SD card image of RIasC (~ 500 MB)
- Hostname and token from cluster administrator
Installation
- Request a token and hostname from the cluster admin.
- Note them down. We will need it later.
- Example:
TOKEN=K109b5813dd9a6944badc430e0e457179e4c83333f882a13ea7356134be77d3508b::server:e851c7e39f5fe771b8b9377c79eaff68HOSTNAME=riasc-node-vtt
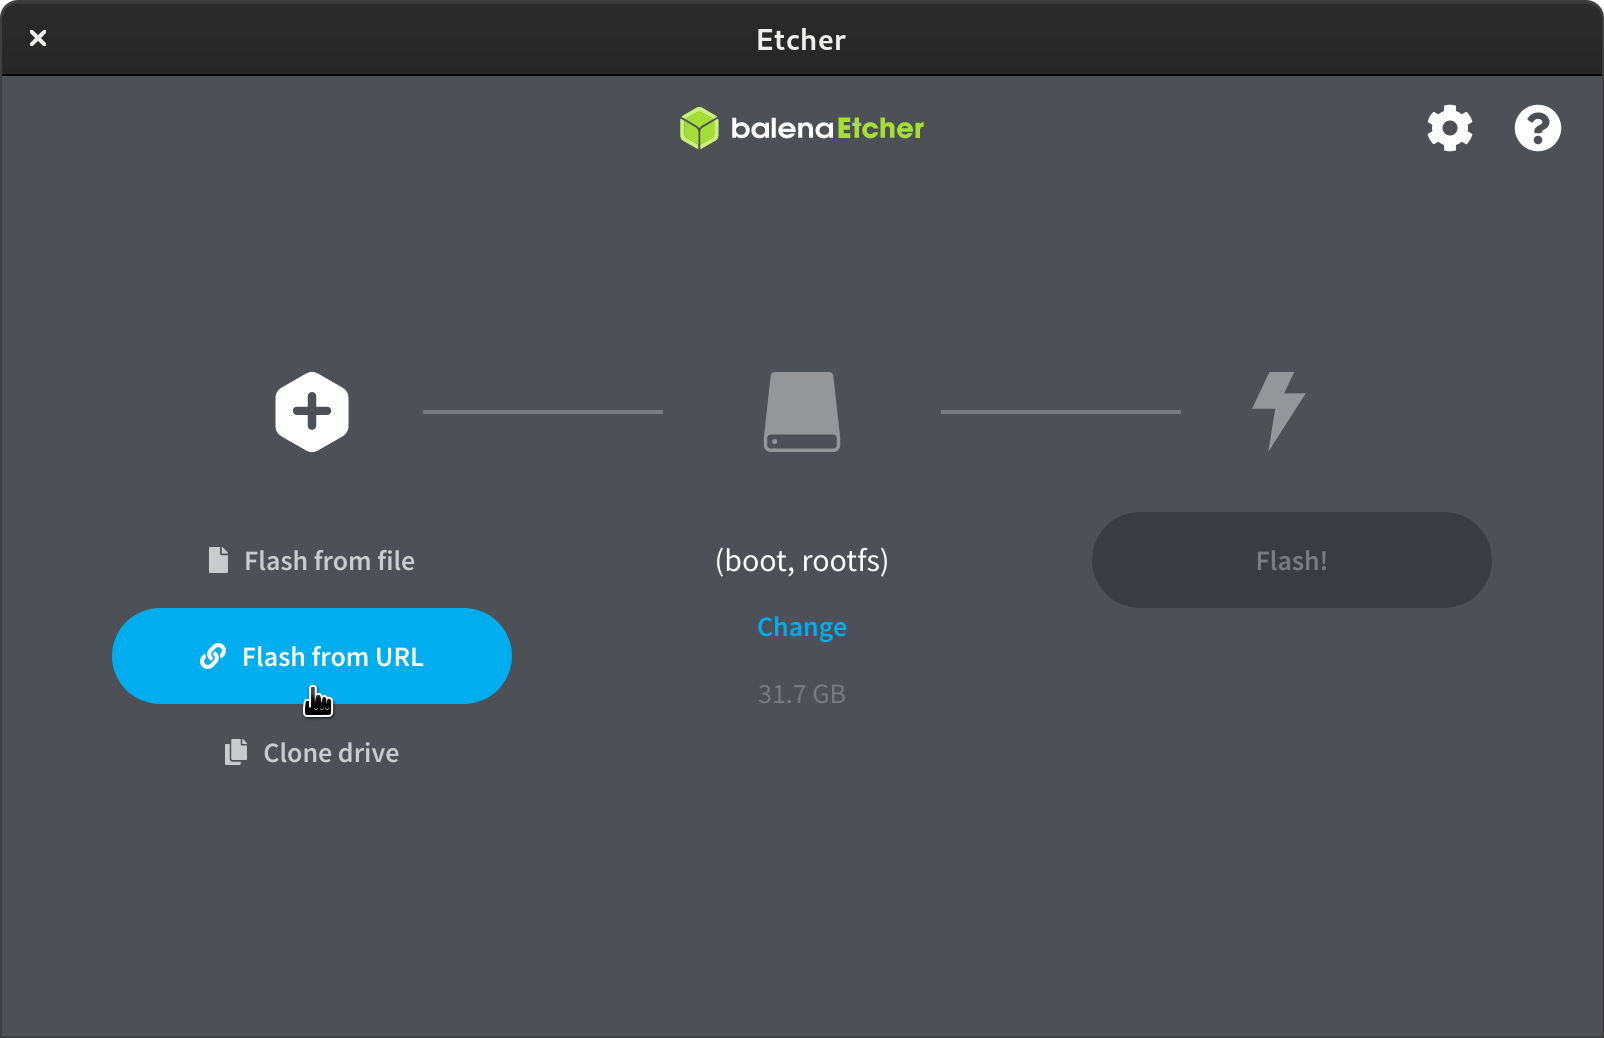
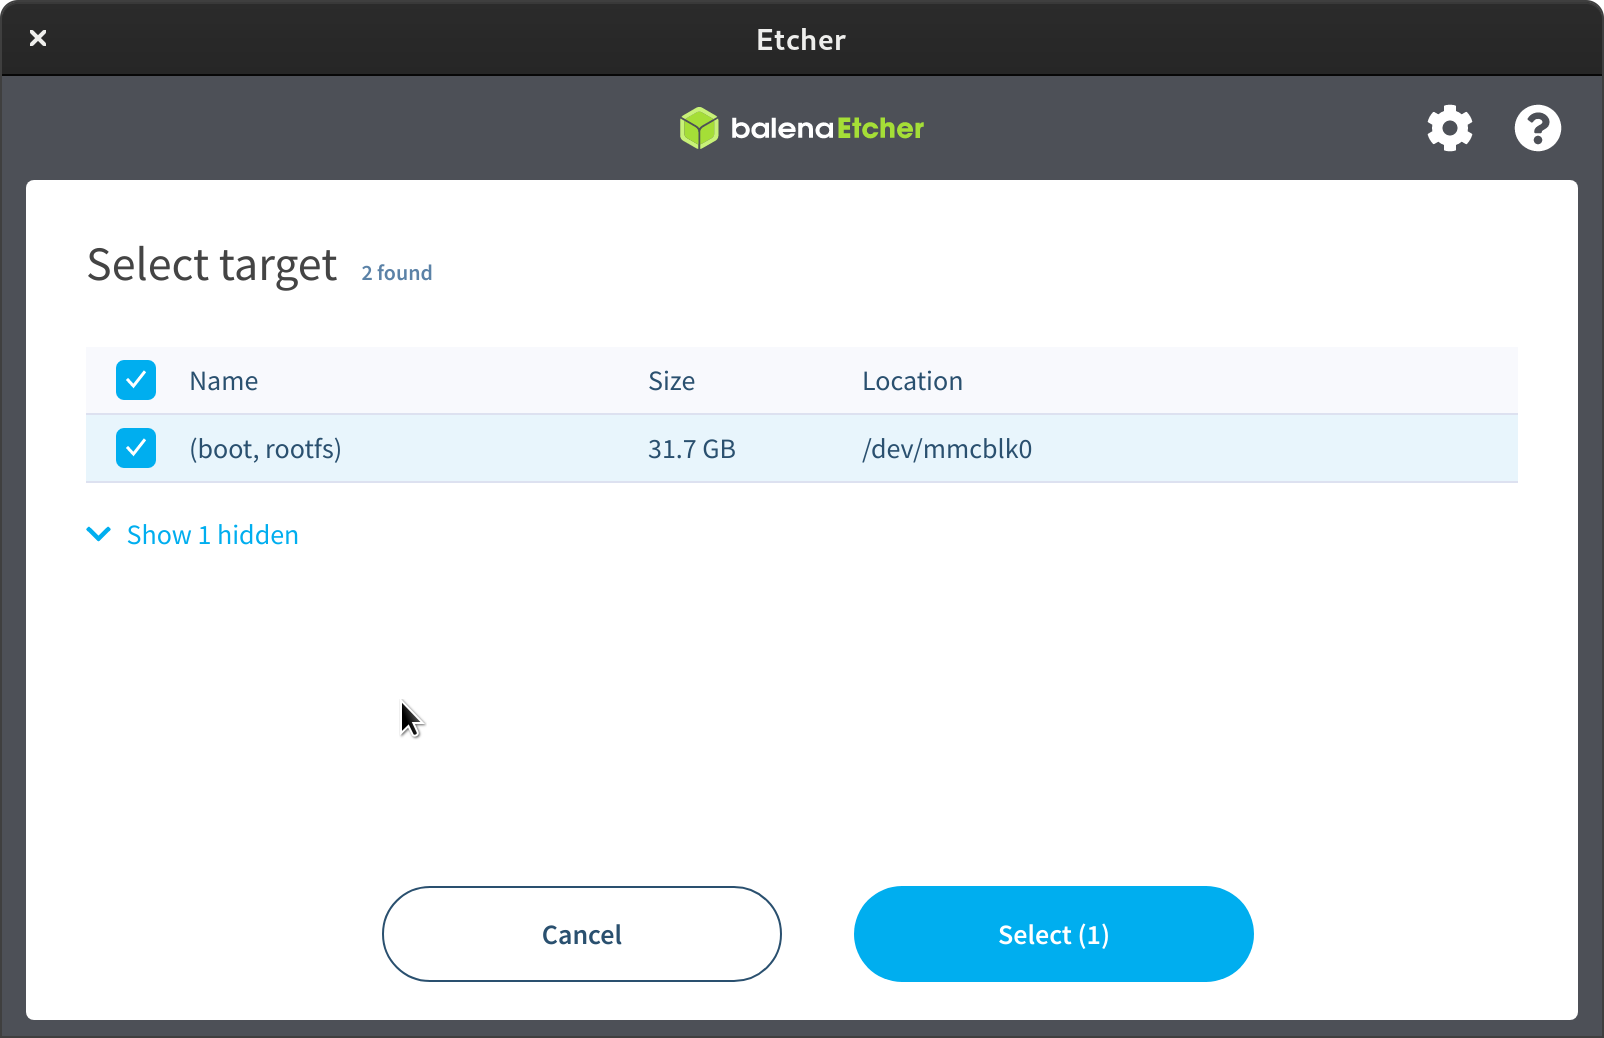
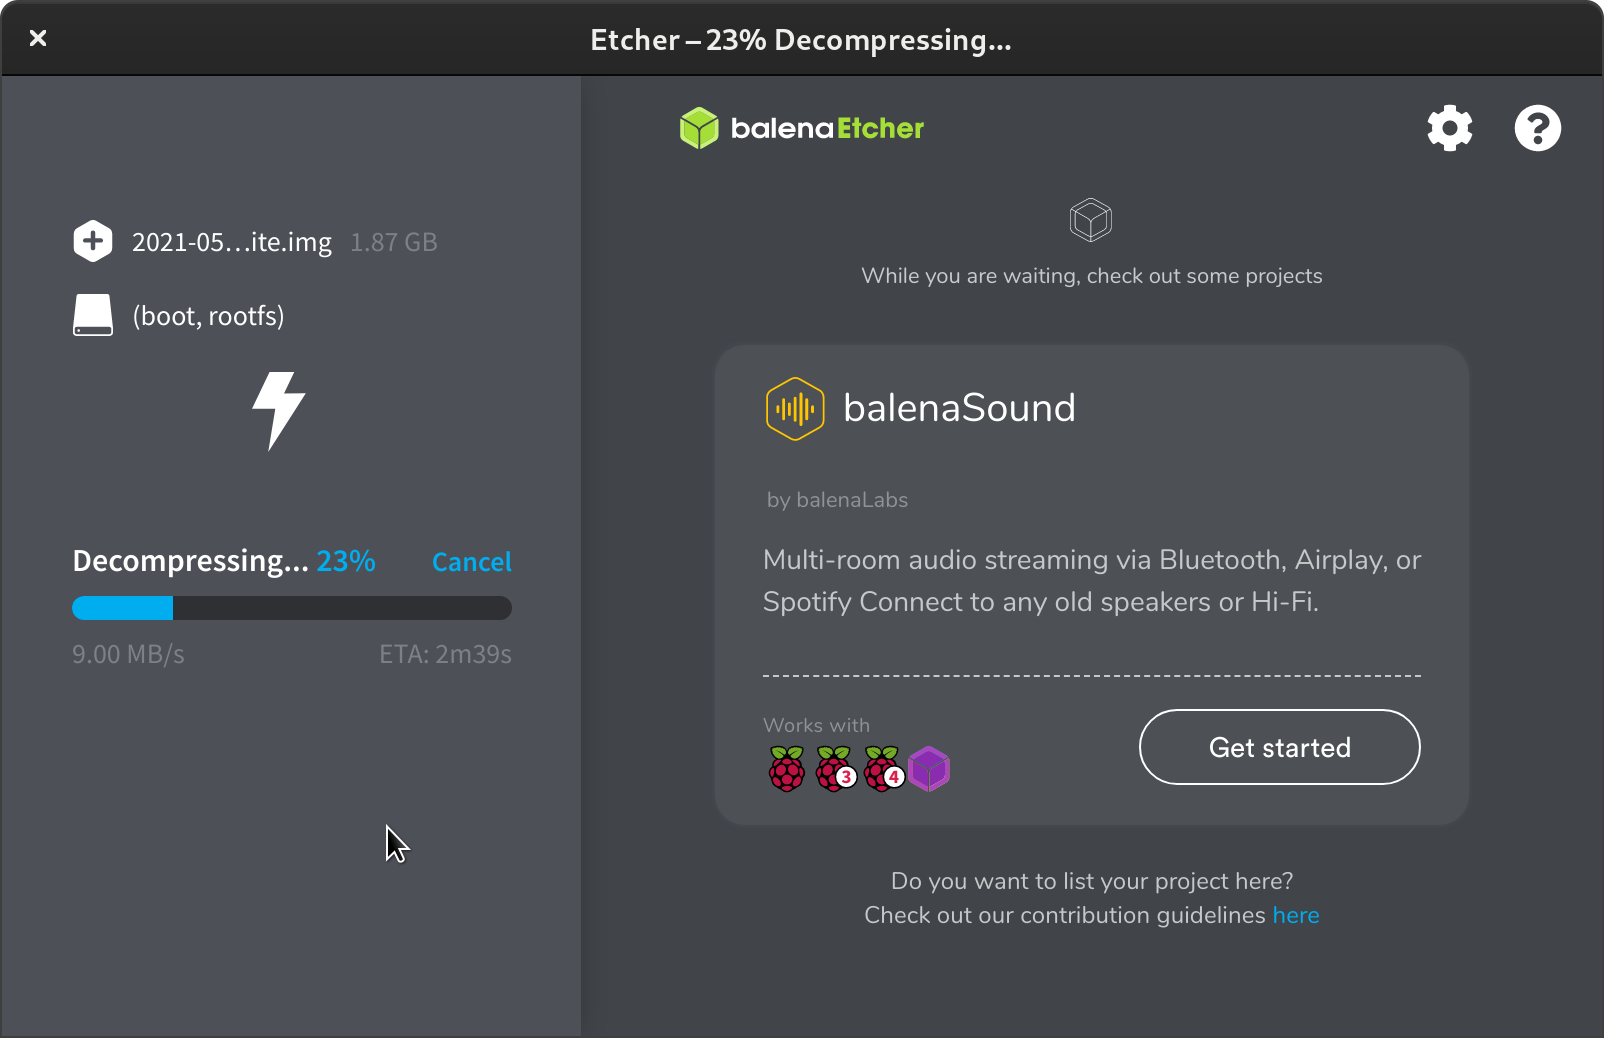
- Use your SD card imager tool of choice to write the image to a spare SD card.
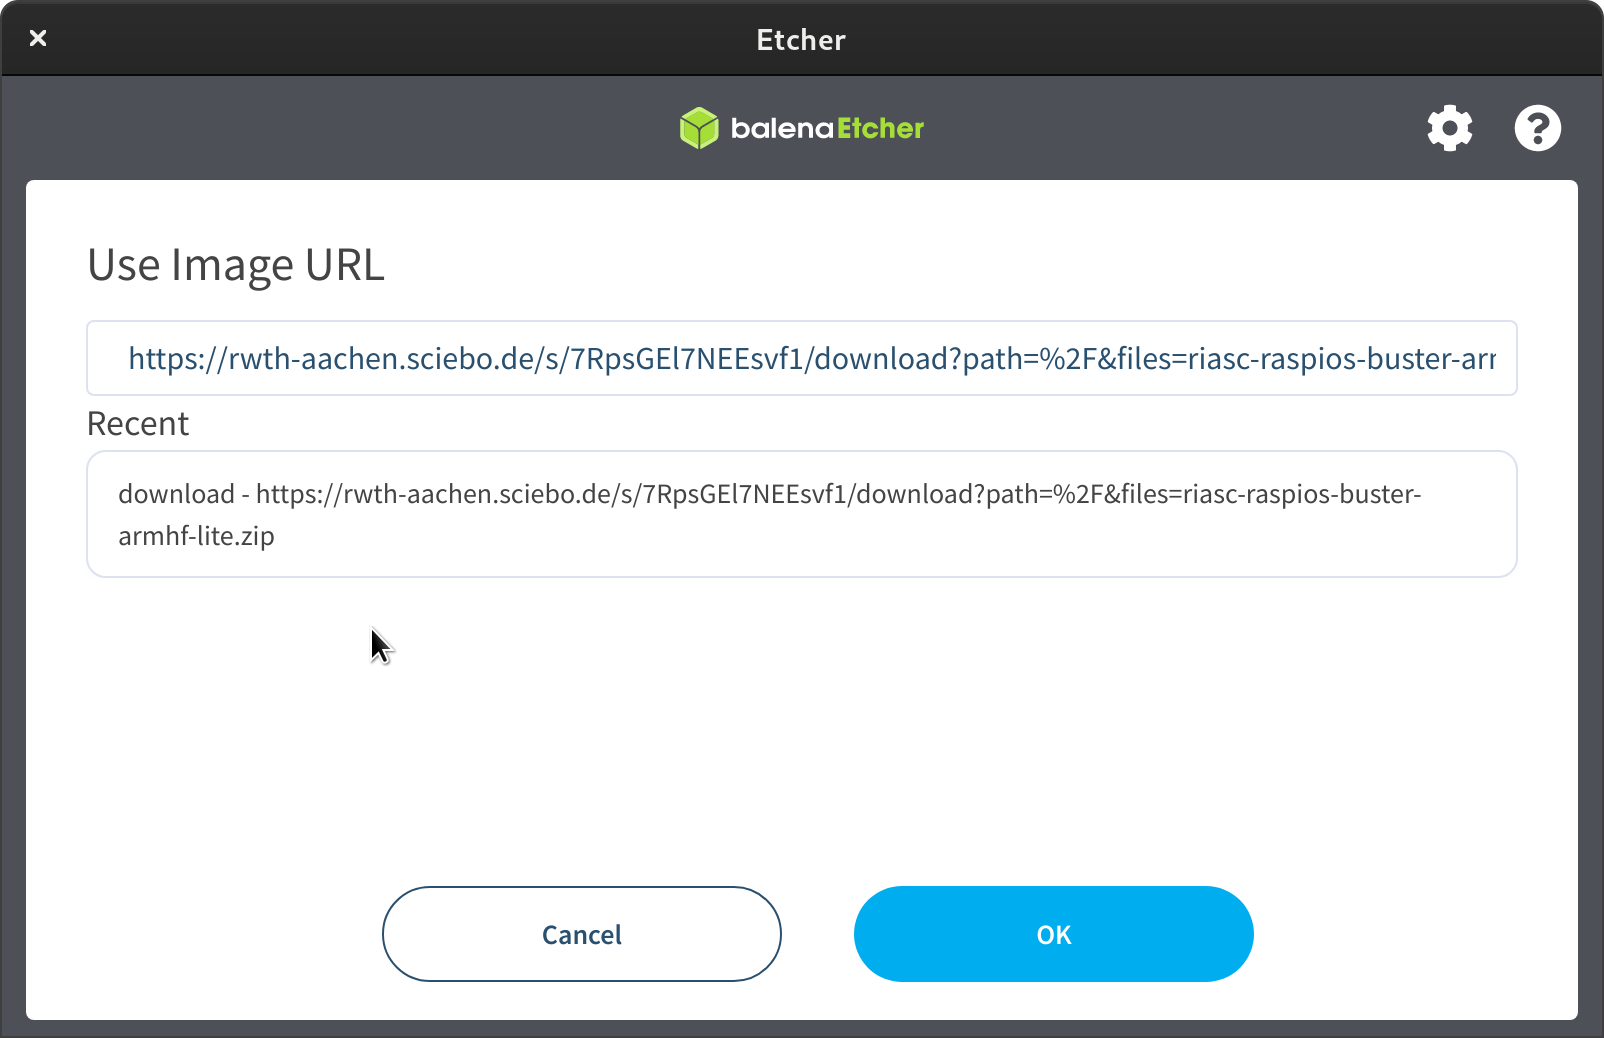
- If asked use the following link as a URL for downloading the image:
https://rwth-aachen.sciebo.de/s/7RpsGEl7NEEsvf1/download?path=%2F&files=2021-09-22-riasc-raspios.zip
- If asked use the following link as a URL for downloading the image:
- Re-insert the SD card reader and open the
bootpartition of the SD card. - Adjust the riasc.yaml file inside this partition:
- Adjust the the settings
hostnameandansible.variables.tokenwith the values from step 1. - Relevant locations are marked with
# changeme!inside the file.
- Adjust the the settings
- Insert the SD card in the Raspberry Pi and power it on.
- Wait until provisioning completes.
- The first boot will take a while (> 10 minutes)
- You can follow the process by attaching a screen to the Raspberry Pi
- ..or run the following command after login via SSH:
sudo journalctl -fu riasc-update - The Raspberry Pi will reboot several times during the process.
- Once finished the the console should print
RIasC update completed successfully!
- Verify that the node has been provisioned successfully:
- Login to the Raspberry Pi with the standard credentials via console:
- User:
pi - Password:
raspberry - Login via SSH is also possible
- Check the status of the
riasc-updateservice by running the following command:sudo systemctl status riasc-update
- Change the default password:
- Run the
passwdcommand and follow the instructions
- Run the
Screenshots